
티스토리 뷰
01. 초기 실행경로를 변경해보자.
dispatcher-servlet.xml 파일을 변경해준다.

02. 아래와 같이 변경 (webapp) 후 서버 재시작

03. webapp 폴더 바로 아래에
cmmn, common, example 폴더를 다음과 같이 위치 변경

[부서관리 화면 만들기]
1. 컨트롤러
- DeptController.java
( deptWrite.do )
2. 폴더생성
- Dept 폴더
3. 파일 생성
- 입력화면 ( depWrite.jsp )
- 저장처리
01. example.sample.web 패키지 하위에 DeptController 만들기
1-1. 패키지 오른쪽 클릭
1-2. Class 생성 : DeptController

02. dept 폴더와 deptWrite.jsp 파일 생성하기

03. deptWrite.jsp
<%@ page language="java" contentType="text/html; charset=UTF-8"
    pageEncoding="UTF-8"%>
<!DOCTYPE html>
<html>
<head>
<meta charset="UTF-8">
<title>Insert title here</title>
</head>
<style>
	table {
		width : 400px;
		border-collapse : collapse; /* 셀 사이의 간격 없애기*/
	}
	td, th{
		border : 1px solid #cccccc;
		padding : 5px;
	}
</style>

<body>
<form name="frm" method ="post" action="">
	<table>
		<tr>
			<th>부서번호</th>
			<td><input type="text" name="deptno"></td>
		</tr>
		<tr>
			<th>부서이름</th>
			<td><input type="text" name="dname"></td>
		</tr>
		<tr>
			<th>부서위치</th>
			<td><input type="text" name="loc"></td>
		</tr>
		<tr>
			<th colspan="2">
				<button type="submit">저장</button>
			</th>
		</tr>
	</table>
</form>
</body>
</html>
04. DeptController.java
package egovframework.example.sample.web;

import org.springframework.stereotype.Controller;
import org.springframework.web.bind.annotation.RequestMapping;

@Controller
public class DeptController {

	@RequestMapping(value="/deptWrite.do")
	public String deptWrite() {
		return "dept/deptWrite";
	}
}
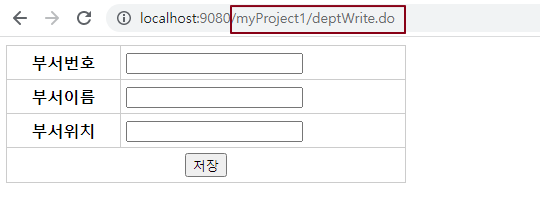
05. 화면
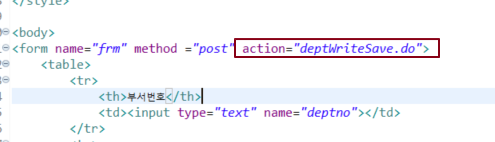
06. deptWriteSave.do <- 데이터를 전달하고 받는 역할 설정해주기.
@RequestMapping(value ="deptWriteSave.do")
	public String InsertDept () {

		return "";
	}
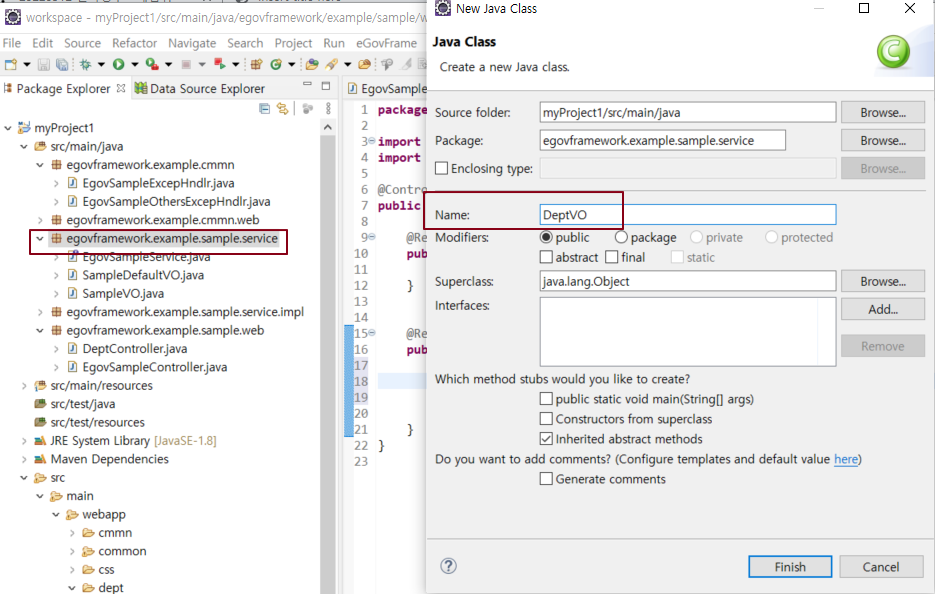
07. DeptVO.java 클래스 생성하기
package egovframework.example.sample.service;

public class DeptVO {

	private String deptno;
	private String dname;
	private String loc;

	public String getDeptno() {
		return deptno;
	}
	public void setDeptno(String deptno) {
		this.deptno = deptno;
	}
	public String getDname() {
		return dname;
	}
	public void setDname(String dname) {
		this.dname = dname;
	}
	public String getLoc() {
		return loc;
	}
	public void setLoc(String loc) {
		this.loc = loc;
	}


}
08. 매개변수 설정 하고 값이 전달되는지 출력해보기

@RequestMapping(value ="deptWriteSave.do")
	public String InsertDept (DeptVO vo) {

		System.out.println(vo.getDeptno());
		System.out.println(vo.getDname());
		System.out.println(vo.getLoc());

		return "";
	}
09. 폼에 입력

10.

'sy.' 카테고리의 다른 글
| 20220312 전자정부프레임워크 초기설정 (0) | 2022.03.12 |
|---|---|
| 20220306 MSSQL STRING_AGG (0) | 2022.03.06 |
| 20220301 SQL OVER (0) | 2022.03.01 |
| 220224 MSSQL 프로시저 01 (0) | 2022.02.25 |